
21/40 - XSLT Auto Population
- christophernmiller
- Feb 24
- 1 min read


For 21/40 we are going to see how this is down on a much larger scale. As mentioned in a previous post, there are large datasets publicly available, and for this post, we are continuing the styling with XSLT.
After downloading the CSV from here, I asked ChatGPT to generate a CSV to XML converter file, as I am new to this language. So a bit of Python is involved here to add the XML tags to the large dataset as shown below:
import csv
import xml.etree.ElementTree as ET

def csv_to_xml(csv_file_path, xml_file_path):
    tree = ET.Element("cars")

    with open(csv_file_path, newline='') as csvfile:
        reader = csv.DictReader(csvfile)
        for row in reader:
            car = ET.SubElement(tree, "car")
            fields = [
                "COMPANY", "MODEL", "TYPE", "SIZE", "transmission", "state", "condition",
                "odometer", "color", "interior", "seller", "mmr", "sellingprice",
                "sale Day", "Sale month", "Sale year"
            ]
            for field in fields:
                element = ET.SubElement(car, field.lower().replace(" ", ""))
                element.text = row[field]

    tree = ET.ElementTree(tree)
    tree.write(xml_file_path, encoding='utf-8', xml_declaration=True)

# Example usage
csv_to_xml('car_prices_3.csv', 'car_prices.xml')
This converts the CSV file:
Kia,Sorento,LX,SUV,automatic,ca,5,16639,white,black,kia motors america inc,20500,21500,Tue,Dec,2014To an XML file as shown below:
<cars><car><company>Kia</company><model>Sorento</model><type>LX</type><size>SUV</size><transmission>automatic</transmission><state>ca</state><condition>5</condition><odometer>16639</odometer><color>white</color><interior>black</interior><seller>kia motors america inc</seller><mmr>20500</mmr><sellingprice>21500</sellingprice><saleday>Tue</saleday><salemonth>Dec</salemonth><saleyear>2014</saleyear></car>XSLT Auto Population
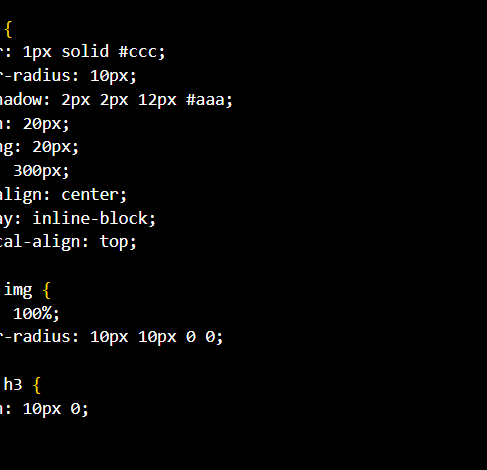
This can be especially useful when you want to apply the same styles to larger amounts of data. For this example, we look at the ability to auto-populate the entire XML document using a button.


Comments